
I’m a DIY sort of girl—so when it came time to plan my son’s 3rd birthday party recently I couldn’t pass up the opportunity to us my creative side! One of the decorations I made were these tissue paper poms. I think they are SO much fun. You can hang them from the ceiling, display them on the wall, use them as table decorations, and so on. I did I little searching on Pinterest and found several tutorials for how to make them. You save pennies making them versus buying them 😉 and that’s the direction I wanted to go.
Here’s what I did:
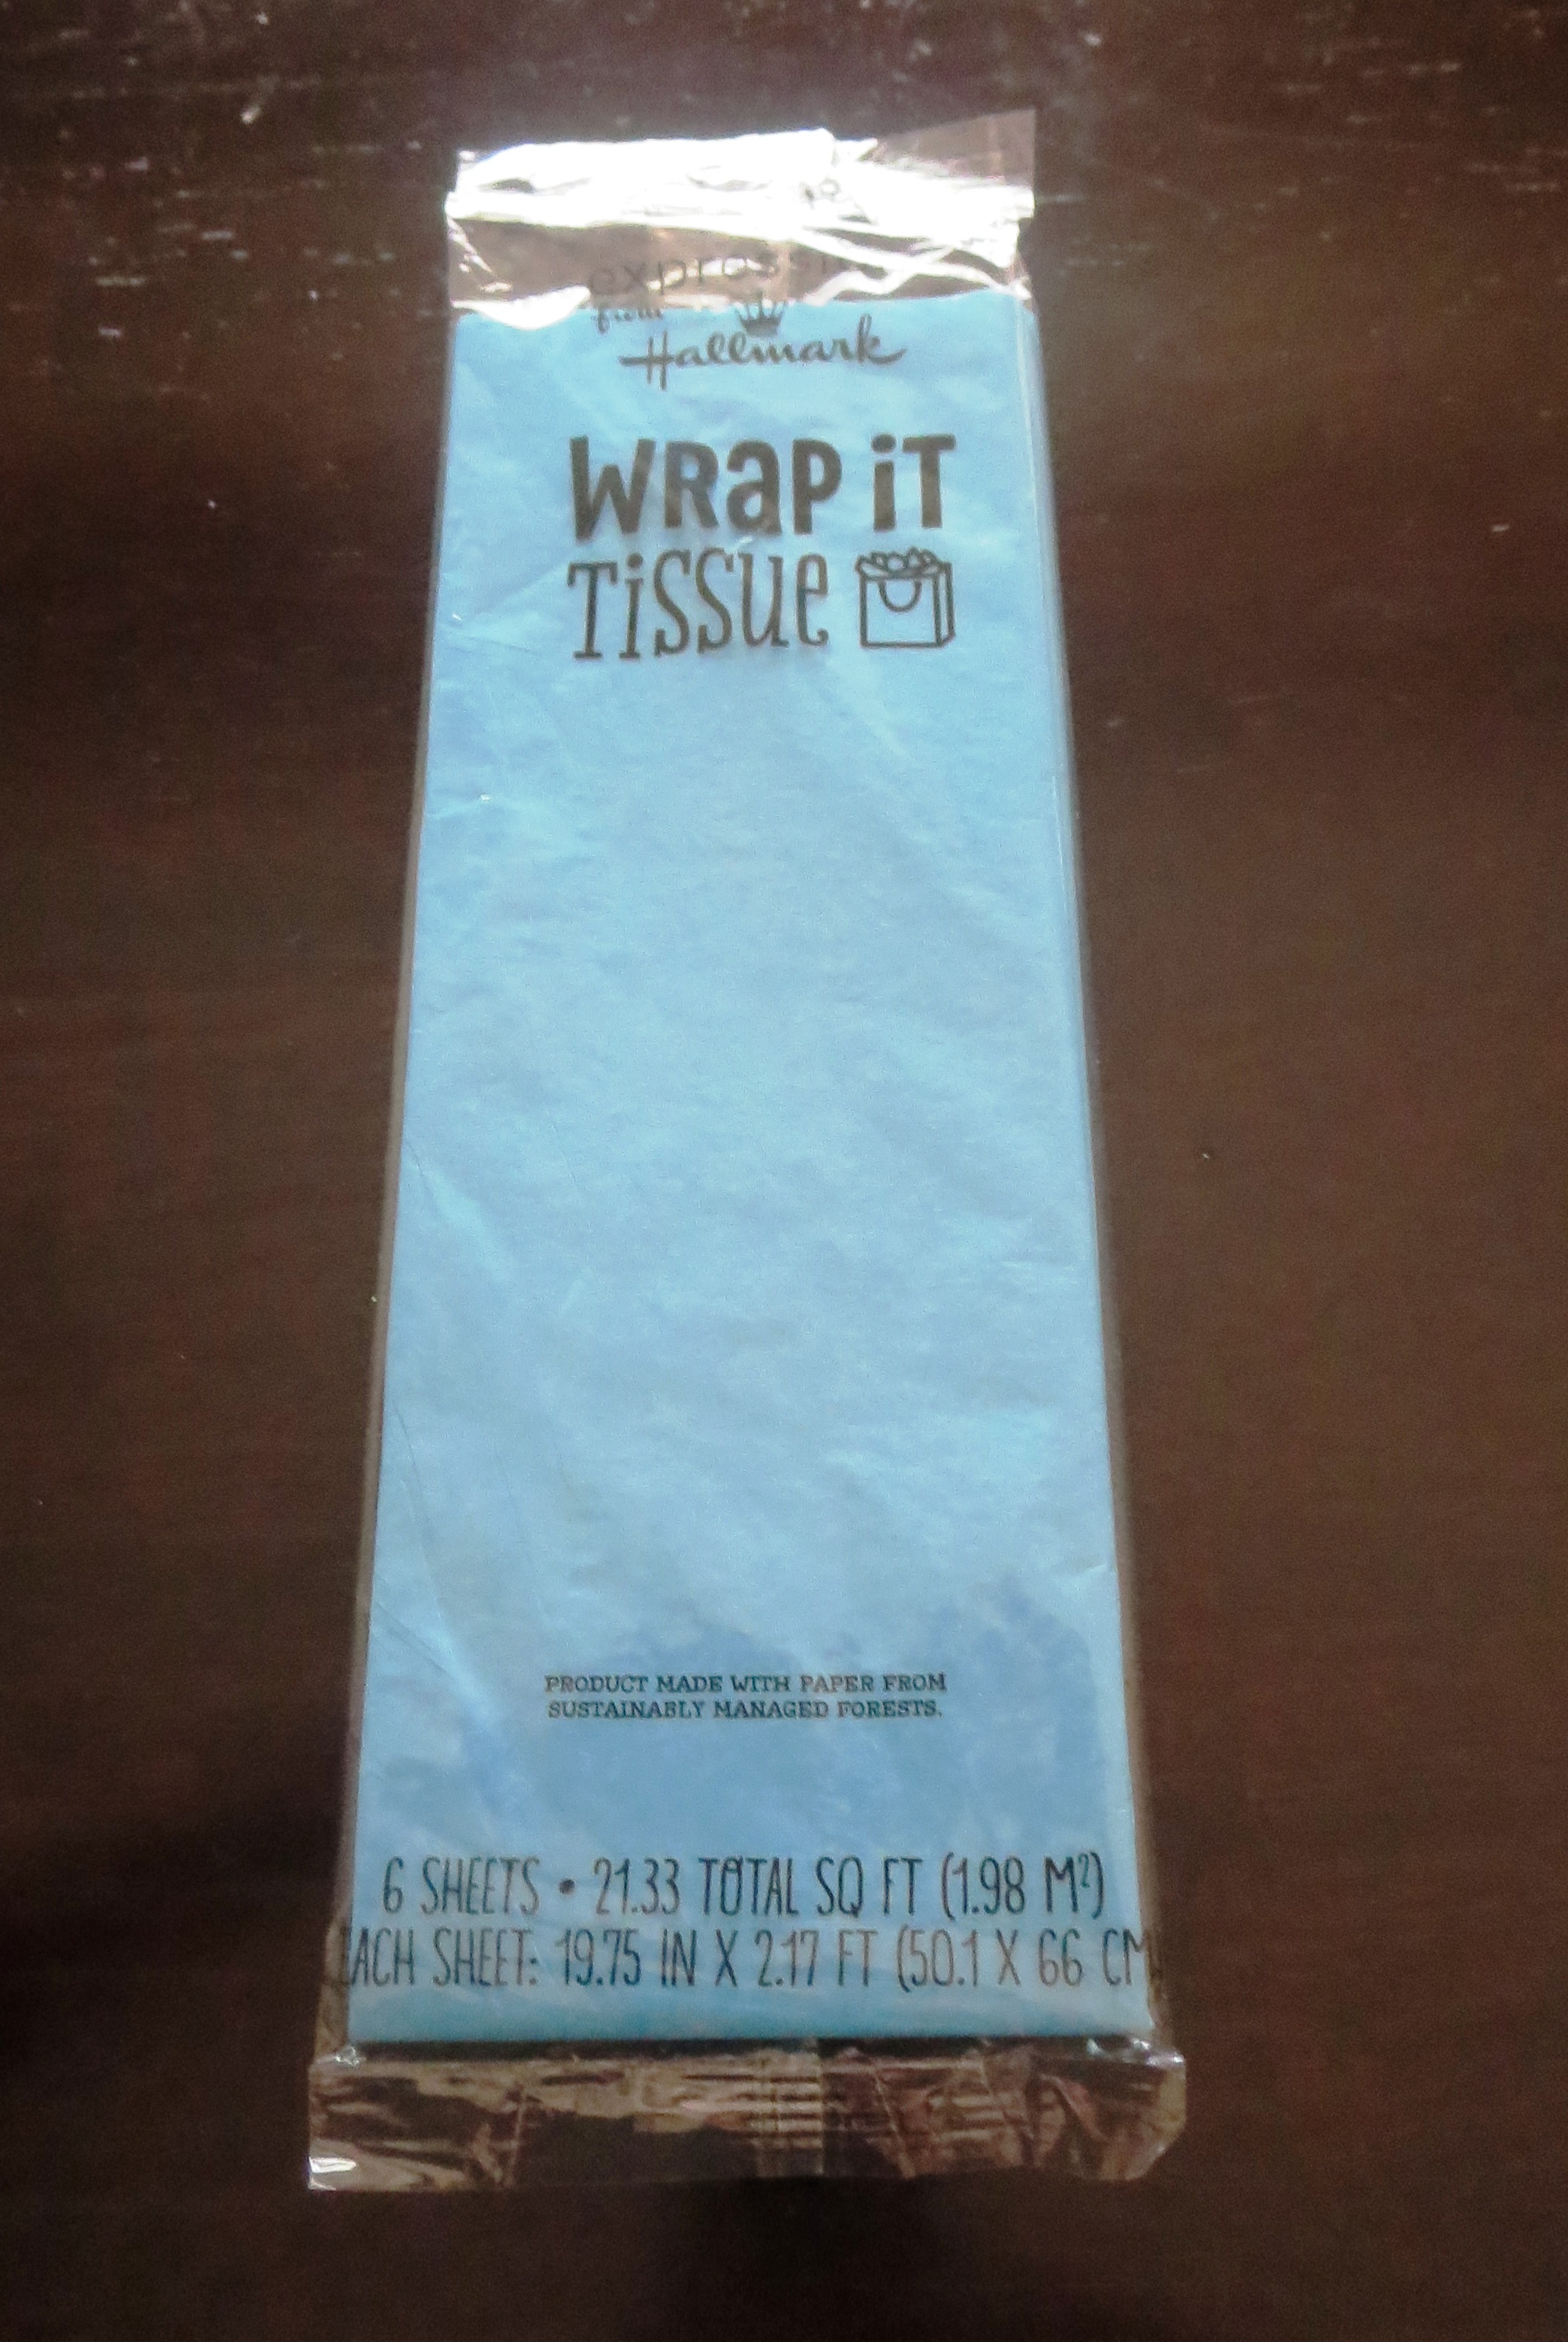
I got two packages of tissue paper (light blue and red because that was the color theme for my son’s party). I made a total of 6 poms with two packages of 99 cent tissue paper (3 blue, 3 red). The tissue paper I used came in packages of 6 sheets, but the number of sheets per package varies among different brands.

I started by unfolding a package of paper…

Then I folded the 6 sheets of tissue paper accordion style. The length determines the size of the pom. You could just make one big pom but I decided I wanted some little ones too (and I wanted to get more than just one pom out of a package of paper)—so I cut the paper.

I cut my paper in two, making a shorter piece and a longer piece.

I set aside the longer piece. Then I unfolded the shorter 6 inch piece and cut it in two pieces.

Then I refolded each piece, making the fold a little smaller this time.

Once I was done with all the cutting and folding I ended up with a long piece and two shorter ones.

Next I used some pipe cleaners that I already had in my craft supplies. The tutorials I read said to use floral wire or jewelry wire, but I didn’t have either and it was a lot thriftier to use what I already had on hand. I looped a pipe cleaner around the middle of each tissue paper bundle and twisted it to secure it place. I was a little nervous that the pipe cleaner would show through since it’s thicker than just a thin wire but it hides just fine. If you plan to hang them from the ceiling you can cut the pipe cleaner down and attach some ribbon so that it hangs nicer—that’s what I did.

Then I rounded the ends of each tissue paper bundle using a pair of scissors.
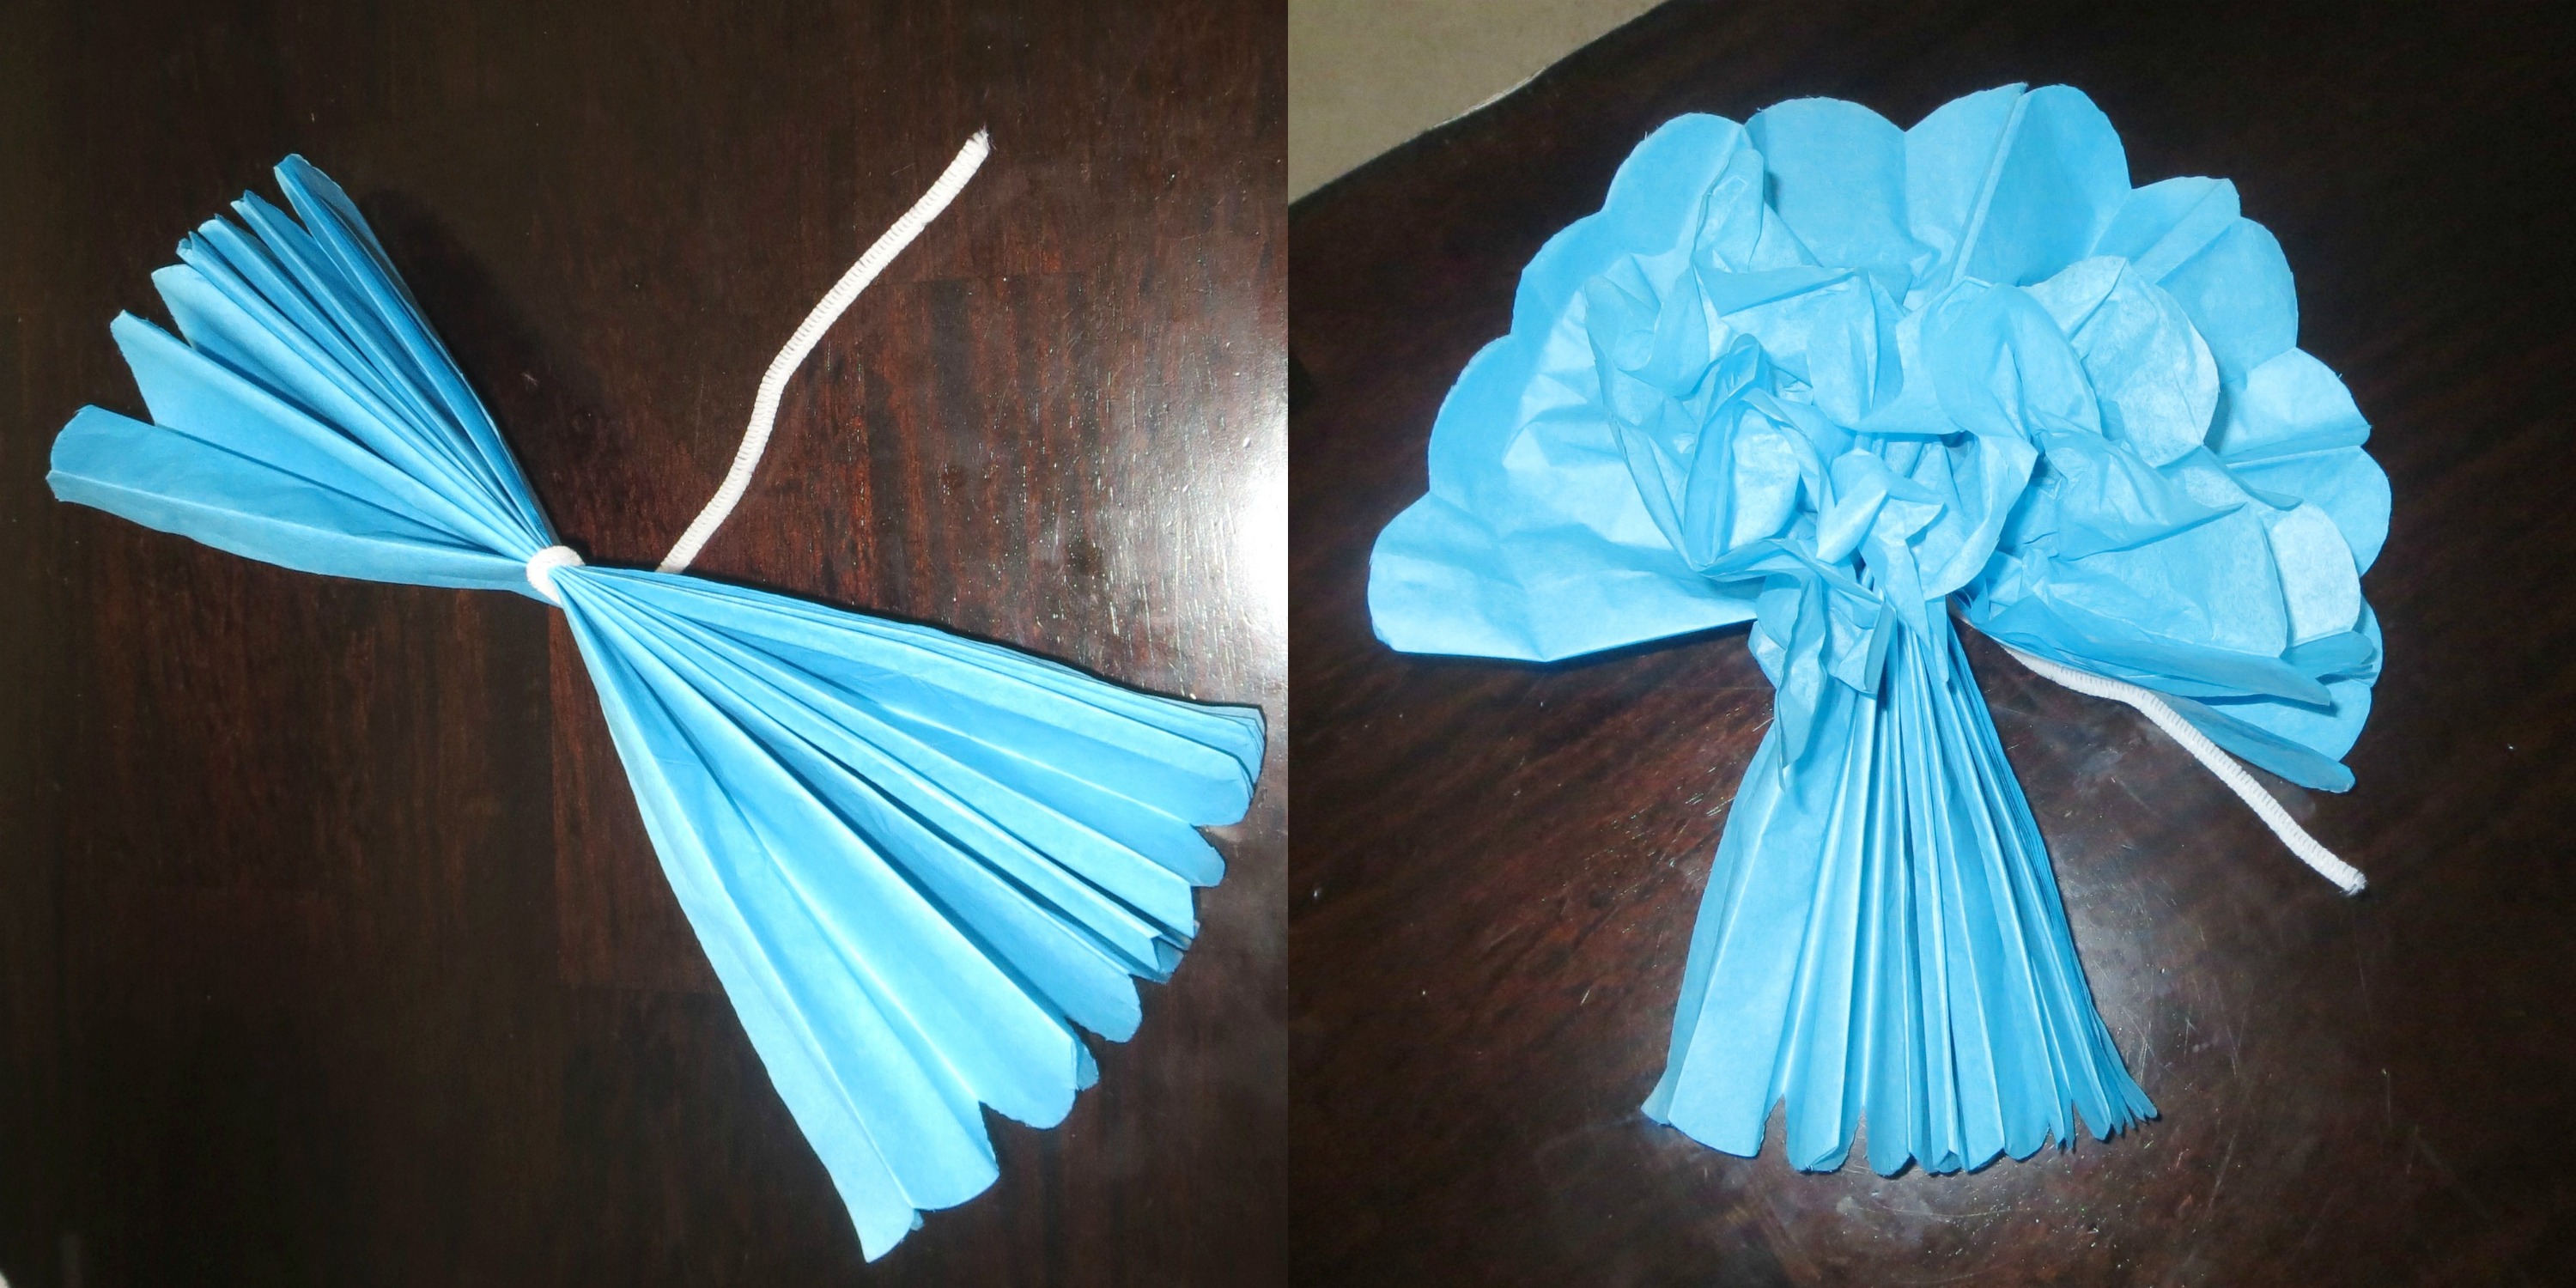
Then I worked with one tissue paper bundle at a time, fanned it out a little, and pulled back a piece of tissue paper at a time. I pulled half the paper one direction and half the paper the other direction to make an even ball shape. The paper can rip easily since it’s so thin so it takes a little patience.

Mine ended up looking like this. Cute don’t you think?!

As mentioned earlier, I made 1 big pom and 2 little poms out of one package of tissue paper. You can adapt things depending on what size of poms you want.

These tissue paper poms are an inexpensive and easy way to brighten up an area and add a pop of color. They are nice for birthday parties, baby or bridal showers, other celebrations, or even for hanging from the ceiling of a kids room.
Here’s a little sneak peak of how I used the little ones as table decorations for my son’s birthday party this past week-end…

In case you can’t tell, we did a “Thomas the Train” theme and it was so much fun! Be sure to keep your eyes open for an upcoming post about that (hint hint 😉 ). So give them a try and come back and post pictures (on my Facebook Page) of how you used them in a creative way. I would love to see!
____


This brought back memories…my son used to love Thomas the Tank Engine! I enjoy the creative posts on your blog!
Thanks so much! Thomas was a fun theme to work with for my son’s party 🙂
Pom Poms make such fun party decorations!
They are! It’s the first time I’ve used them and I will definitely be making them again! 🙂
These came out great Hannah!
Thanks Lori, they were lots of fun! 🙂